
Installation planning · CombiSteel Knowledge Hub
CombiSteel Kitchen Equipment Delivery Access: A Route Survey Before You Order
Plan your commercial kitchen equipment delivery with a thorough route survey to ensure smooth installation.
In this guide
If a fridge counter or cooker range fits your layout but cannot get through the building, you lose time, pay extra handling, or face a failed delivery. This guide shows you how to run a practical route survey before you order: checking clear door openings, corridors, tight turns, thresholds, stairs and lifts, then comparing them to the unit’s external body dimensions versus the real delivery footprint on a pallet or trolley.
You will also see how to record pinch points in one shareable sheet, do a quick route sketch using two real CombiSteel examples, and get delivery scope confirmed in writing before you book a date.
Understanding equipment dimensions vs delivery space
Spec-sheet dimensions tell you the installed size of the unit. They are the external cabinet measurements you use to plan where it will sit, how it lines up with benches and walls, and whether services are in the right place.
Delivery space is different. It is the clearance needed to get the unit from the truck to its final position, including packaging, a pallet or trolley, and the room you need to manoeuvre at corners, landings and doorways.
Model dimension reference (body only)
These are the verified external body dimensions from the Caterboss product listings:
Swipe or scroll horizontally to see all table columns.
| Model | What it is | External body dimensions (H × W × D) | Source |
|---|---|---|---|
| CombiSteel 7489.5520 | Counter 700 refrigerator, 2 doors, 2 drawers | 850 × 1865 × 700 mm | CaterBoss counter 700 refrigerator 2 doors 2 drawers specifications |
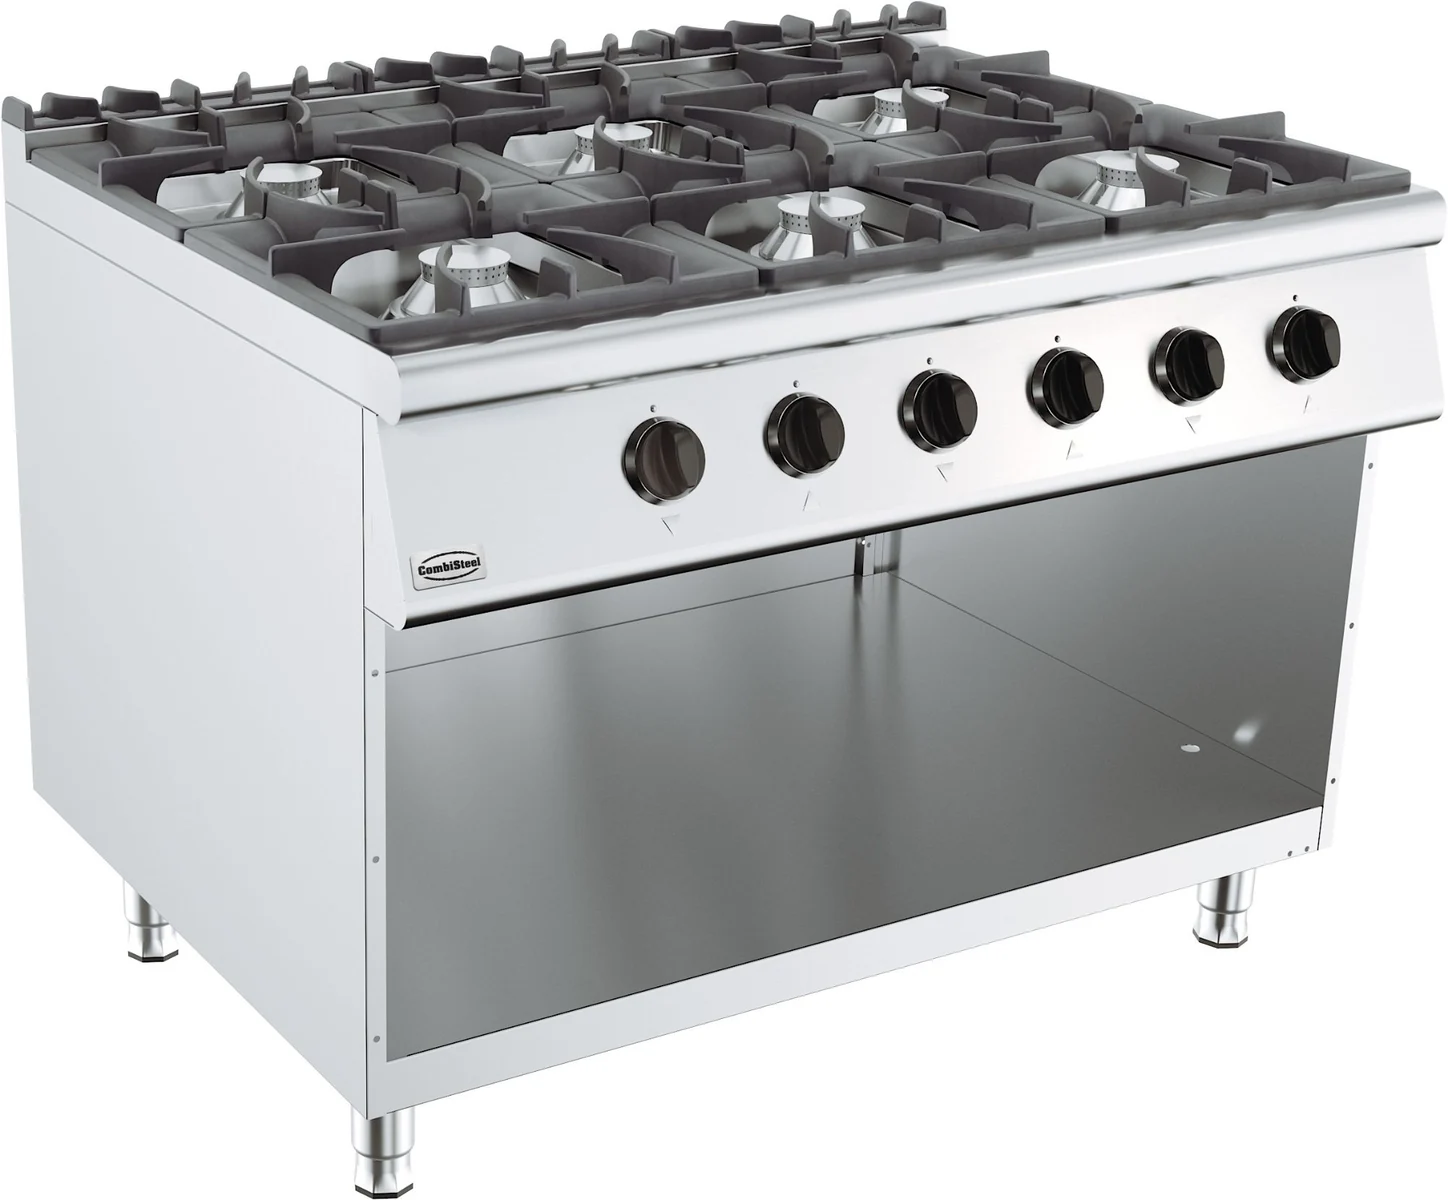
| CombiSteel 7178.3010 | Base 900 freestanding gas cooker range, 6 burners | 900 × 1200 × 900 mm | CaterBoss base 900 freestanding gas cooker range 6 burners specifications |
Treat these as bare unit measurements. They do not confirm packaged size, pallet footprint, or the manoeuvring space a crew needs.
What typically increases the space you actually need
Most access problems are not one big mistake. It is small losses adding up at the narrowest point.
- Packaging and handling gear: carton or crate, pallet size, plus the width of a trolley or pallet truck.
- Protrusions: handles, protective corners, rear spacers, or parts fitted for transport.
- Height constraints: door closers, signage, ductwork, soffits, or a change in level that forces the unit onto different handling gear.
- Turning space: corners in corridors, tight lobbies, stair half-landings, or anywhere you cannot square the unit to the opening.
A useful rule before you approve a delivery date
Planning from body dimensions answers “will it fit where it’s going?”. It does not answer “can it get there?”.
Treat each doorway and each turn as its own test. In most sites, the limiting factor is the narrowest clear opening or the tightest turn on the route, not the kitchen footprint.
If access is marginal, do not assume you can tilt, rotate, unpack early, or remove doors on the day. Those are handling decisions that need to be agreed in advance.
Measuring doorways, corridors and turns
Measure the full route from a realistic drop-off point to the final position. Record the clear opening at every doorway, the narrowest corridor width, and any height restrictions.
Then compare route measurements to the equipment’s body dimensions (see table above), and treat packaging and handling as a separate allowance you must confirm.
1. Measure every doorway as a clear opening
For each door on the route, measure the clear width and clear height with the door opened as far as it will realistically be on delivery day. Door closers, crash bars, hinges, kick plates and protection rails often reduce what you can actually get through.
Measure the tightest points:
- Width: between the inside faces of the door stops, or any protruding ironmongery.
- Height: finished floor level to the underside of the frame or closer.
Note any threshold, lip or ramp. Even if it does not block access, it can stop a pallet truck from crossing cleanly.
2. Measure corridor pinch points (where the usable width disappears)
Corridors fail deliveries because the width is rarely consistent. Measure:
- the narrowest section (radiators, pipe boxing, wall protection, fire points, lockers)
- any point where you must pass an obstacle and turn at the same time
Also check height where it matters, especially under beams, cable trays, signage and door transoms. For basement access, measure stair width, handrail projection and landing size. The landing is often the real limiting factor.
3. Measure turns and corners as rotation space
For a 90-degree turn, you need enough free floor area to rotate the unit without striking the inside corner or scraping the outside wall.
A quick way to make this real is to mark it on the floor with tape:
- Mark the inside corner point (where the two walls meet).
- Mark the outside corner line (the edge you must swing around).
- Measure the usable rotation area, including any temporary space you can create by holding a door fully open.
If the equipment width is close to your doorway clear opening, a turn immediately after the door is often where the move fails.
4. Compare to body dimensions first, then deal with packaging and handling
Start with the published body dimensions so you have a consistent baseline.
Then, separately, allow for:
- packaging and corner protection
- pallet footprint (if delivered on a pallet)
- handling equipment and hand clearance
If packaged dimensions are available for your exact model, use those. If they are not, do not guess. Build in margin and ask the supplier to confirm the expected delivery footprint before you commit.
Route survey sheet template (one page you can email)
You will get a faster, clearer answer from the supplier if you send one route survey that lists pinch points in order, with one labelled photo per pinch point.
Use one sheet with the same fields for every pinch point:
- Pinch-point number (1, 2, 3… in walking order)
- Location (what someone will recognise on site)
- Type (door, corridor, corner/turn, stairs, lift, threshold/ramp)
- Minimum clear width (mm)
- Minimum clear height (mm)
- Notes (what affects handling on the day)
- Photo ref (file name or screenshot)
If your route uses a lift, add lift-specific fields for that pinch point:
- Lift door clear width and height (mm)
- Lift car internal width, depth and height (mm)
- Landing geometry: whether you can line up straight into the lift, or need to turn immediately at the doors
- Rated payload: recorded from the lift certificate/plate and confirmed with the building operator (do not guess)
- Transported load confirmation: confirm with the delivery team what they plan to put in the lift at once (unit plus any handling equipment), and whether the lift is acceptable for the move
Add equipment details at the top:
- Model number
- Body dimensions (H × W × D)
- Which dimension is likely to lead on the tight parts of the route (for example, “moving sideways after Door 2”)
A mini example row (fill yours with real measurements):
Swipe or scroll horizontally to see all table columns.
| # | Location | Type | Clear W | Clear H | Notes | Photo |
|---|---|---|---|---|---|---|
| 3 | Lobby swing door to service corridor | Door + turn | 890 | 2020 | Door only opens to ~85°. Tight left turn immediately after. | IMG_1033 |
Photo tip: take one straight-on photo of the opening, and one wider shot showing approach space. Mark the measured clear opening on the image (phone markup is fine).
Example: handling oversized equipment without guesswork
If the unit’s body width is already wider than your tightest clear opening, you are out of “it’ll probably be fine” territory.
At that point the decision is about route geometry (can it be rotated and straightened with the space you actually have) and agreed handling (what the delivery crew will and will not do).
Worked example (hypothetical numbers, real decision logic)
- If your narrowest clear opening is 880 mm and the unit body width is 900 mm, it does not pass straight-through in that orientation.
- Your practical options are then:
- a different access route,
- rotation or angling (only if the space exists either side of the opening),
- a different equipment format or size,
- or a site change you control (for example, temporary removal of obstructions by your contractor).
Do not plan on tilting, laying a unit down, removing doors, or stripping packaging unless the manufacturer guidance and the delivery team explicitly support it for that model.
Apply the same logic to real model dimensions
Use the model dimension reference table above as your starting point.
- For a 1200 mm wide unit such as CombiSteel 7178.3010, the door and corridor widths are the obvious checks, but the turn after the door is often the problem in older buildings.
- For a long counter such as CombiSteel 7489.5520 (body width 1865 mm), the move can fail even when doors are wide enough, because you cannot swing and straighten the length through a lobby or a short corridor.
If you are planning a new cooking line or a replacement range, it is worth mapping access at the same time as workflow and spacing. See: Plan a commercial cooking line.
CombiSteel models and route sketching (a quick sanity check)
A sketch is not a perfect plan. It is a fast way to expose the one turn or doorway that will ruin your day.
- Pick a scale you will stick to (for example 1:20).
- Draw the route in order: drop-off → entrance → corridor → turn(s) → kitchen → final bay.
- Write the measured clear openings at each pinch point.
- Draw a rectangle for the unit footprint using the body dimensions, and test likely orientations through the tight parts.
Three common stoppers:
- Clear width on doors and corridor pinch points.
- Turns where you need swing space, not just corridor width.
- Clear height lost to door closers, bulkheads and signage, especially when the unit is on handling gear.
If the sketch only works when you assume “we’ll just tilt it”, treat it as not agreed and go back to the supplier with your route survey.
If you are still at the selection stage for refrigeration format (upright vs counter, door layout, and how it affects access and day-to-day workflow), see: Choose a commercial refrigerator.
Clarifying responsibility and delivery scope (before you book)
If the equipment arrives and it will not fit through the agreed access route, it is usually treated as a failed delivery in practice. That is where charges and delays start.
Because delivery scope and responsibilities vary, avoid relying on assumptions like “they’ll bring it into the kitchen” or “they can remove the doors”. Instead, ask for confirmation in writing before you schedule:
- what “delivery” includes (kerbside, to the door, or positioned)
- what access the delivery plan assumes (steps, tight turns, lifts, restricted hours, parking)
- what happens if access is restricted on arrival (re-delivery fees, return handling, restocking conditions)
Your route survey sheet makes this an easy, factual conversation. You are not asking anyone to guess. You are asking them to sign off on measured pinch points against the model you are ordering.
Next step: sanity-check access before you book a date
Finish the one-page route survey, then share it internally and with your supplier before you commit to a delivery slot. Focus on the tightest door, the tightest turn, and any stairs or lift constraints.
If you want a second set of eyes, send Caterboss the route sheet, photos, and the exact model number you are ordering, and ask them to confirm the expected delivery footprint (including packaging and handling gear) for your site.